
The Making of The Sussex Chair
After taking part in the BBC2’s ‘The Victorian House of Arts and Crafts’ show I wanted to break down the design and construction process for the Sussex chair I produced in Episode 1. What an extraordinary experience! This was my first time greenwood working as well as my first time making a Sussex Chair.
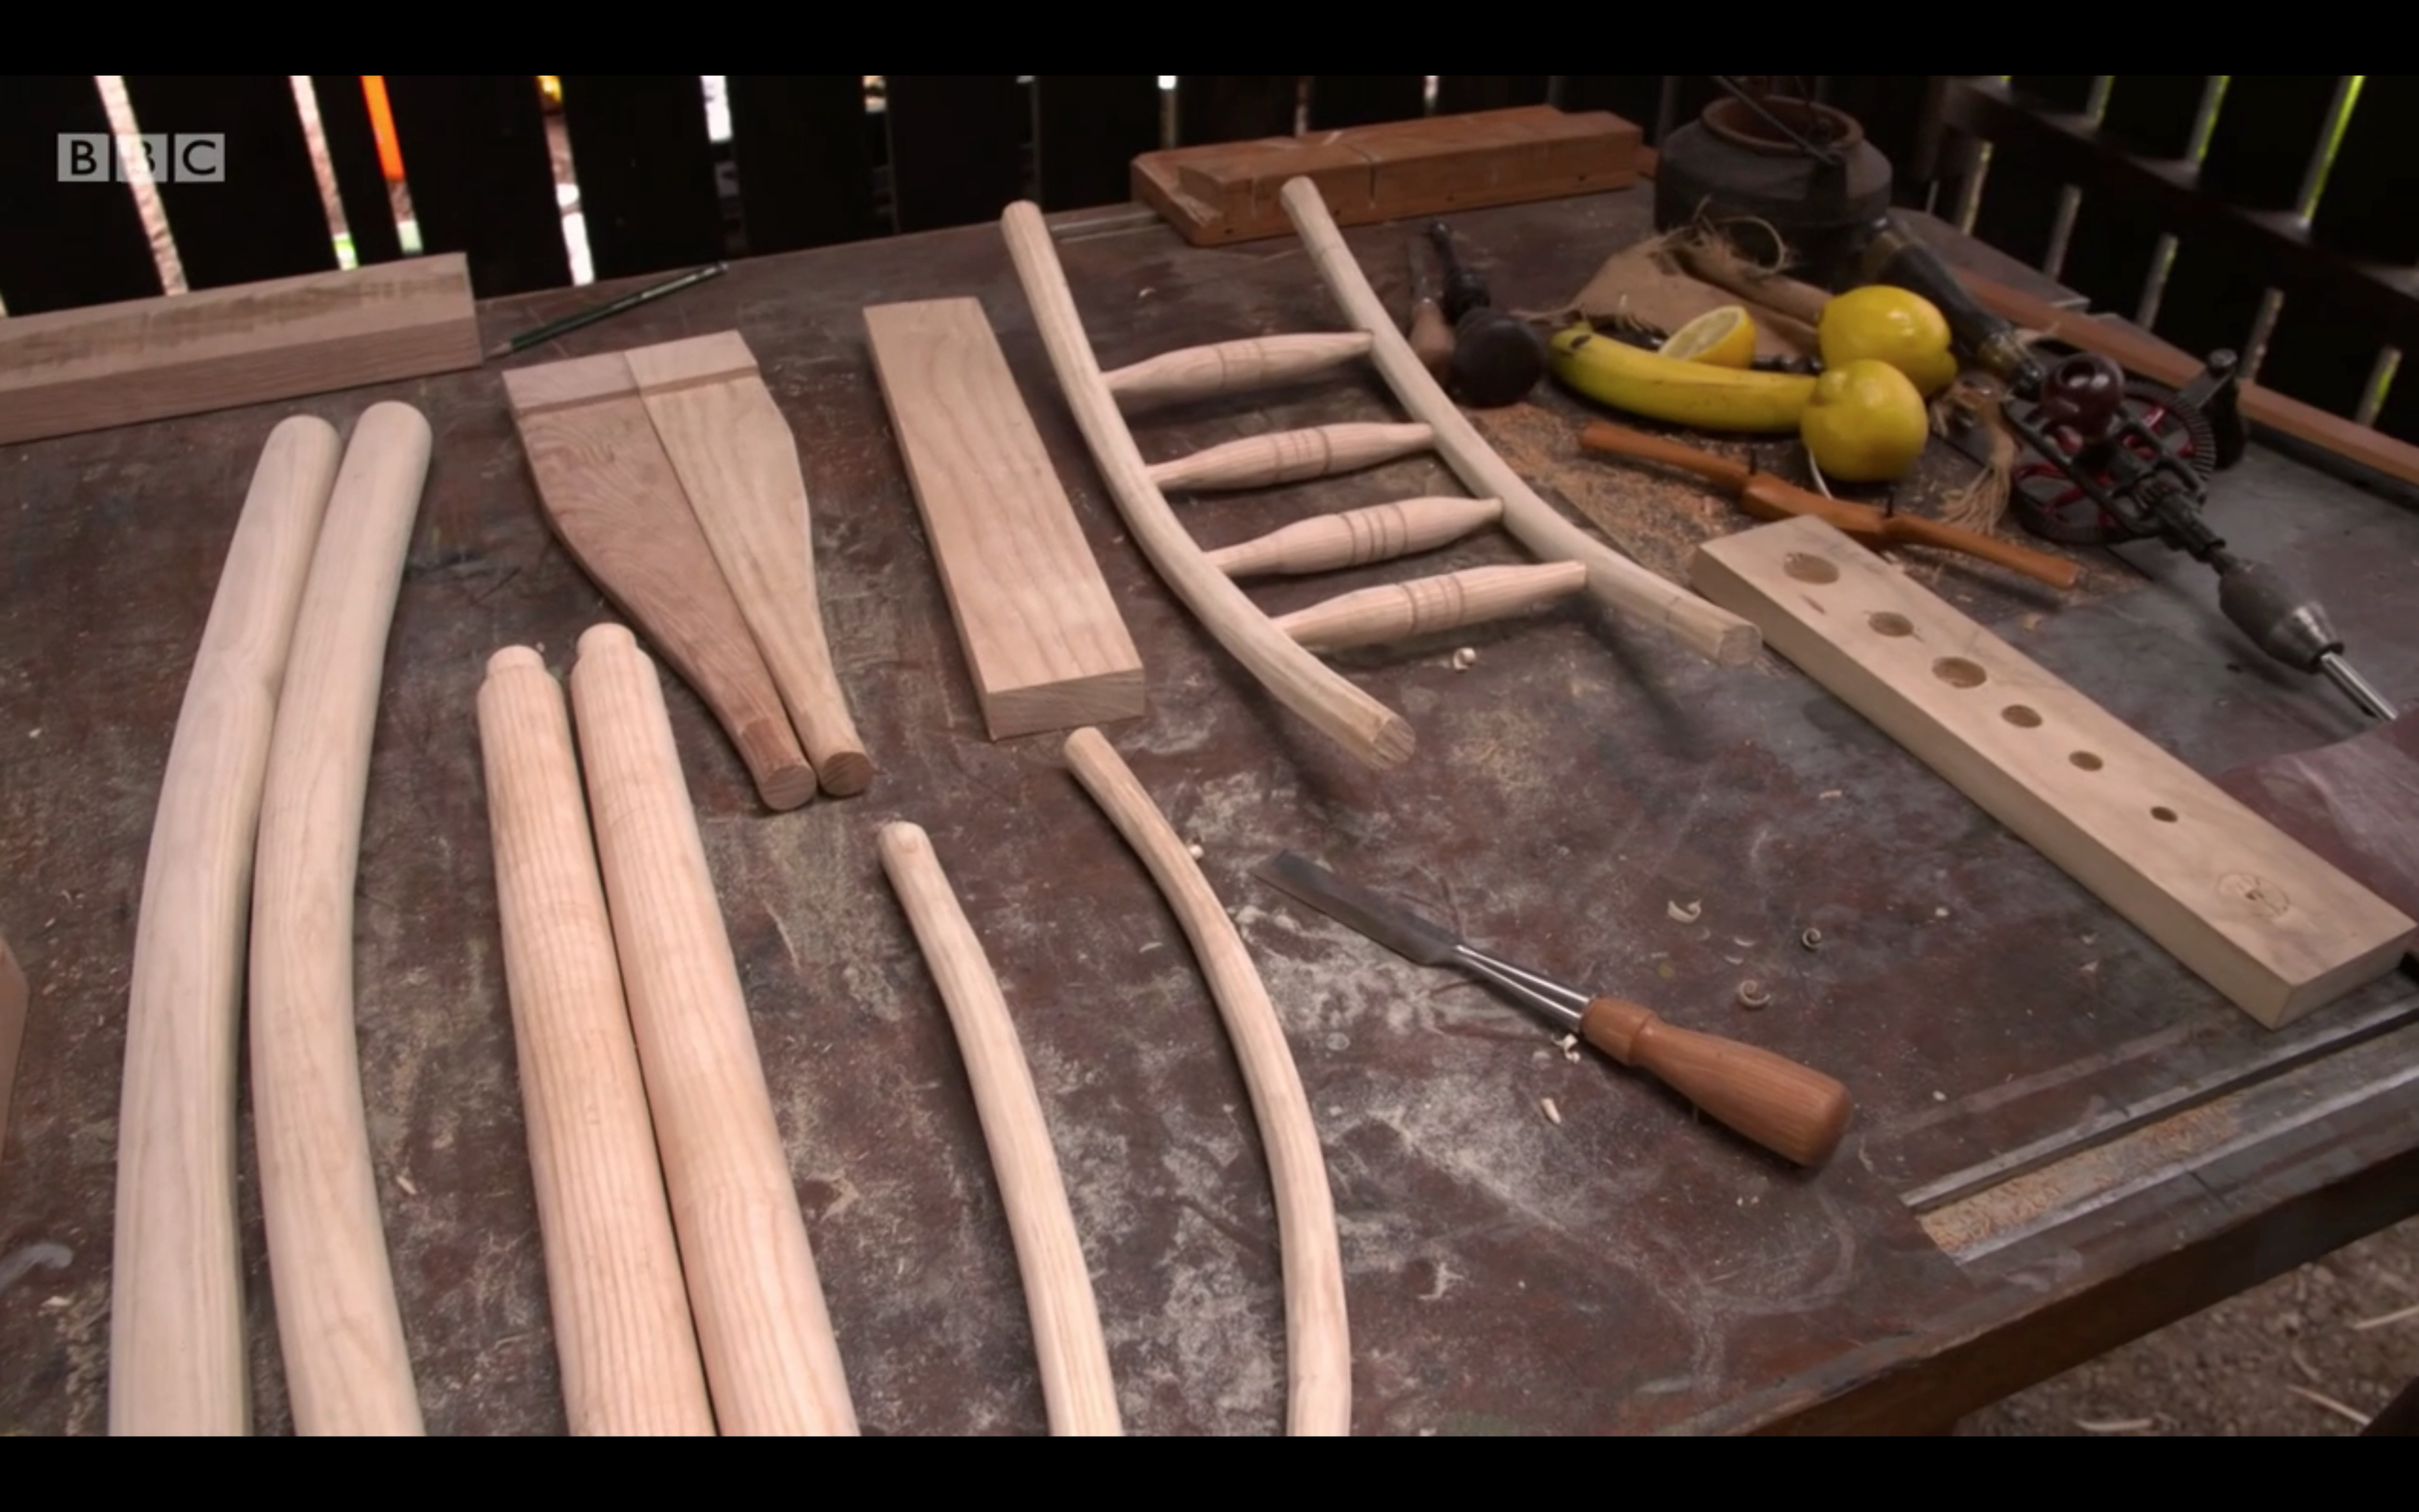
Here I will explain in finer detail how over seventy hours, each of the twenty-nine separate pieces of the chair where shaved, turned, steam bent, drilled, dried and assembled after being split from several large freshly felled logs all without any modern-day power tools.

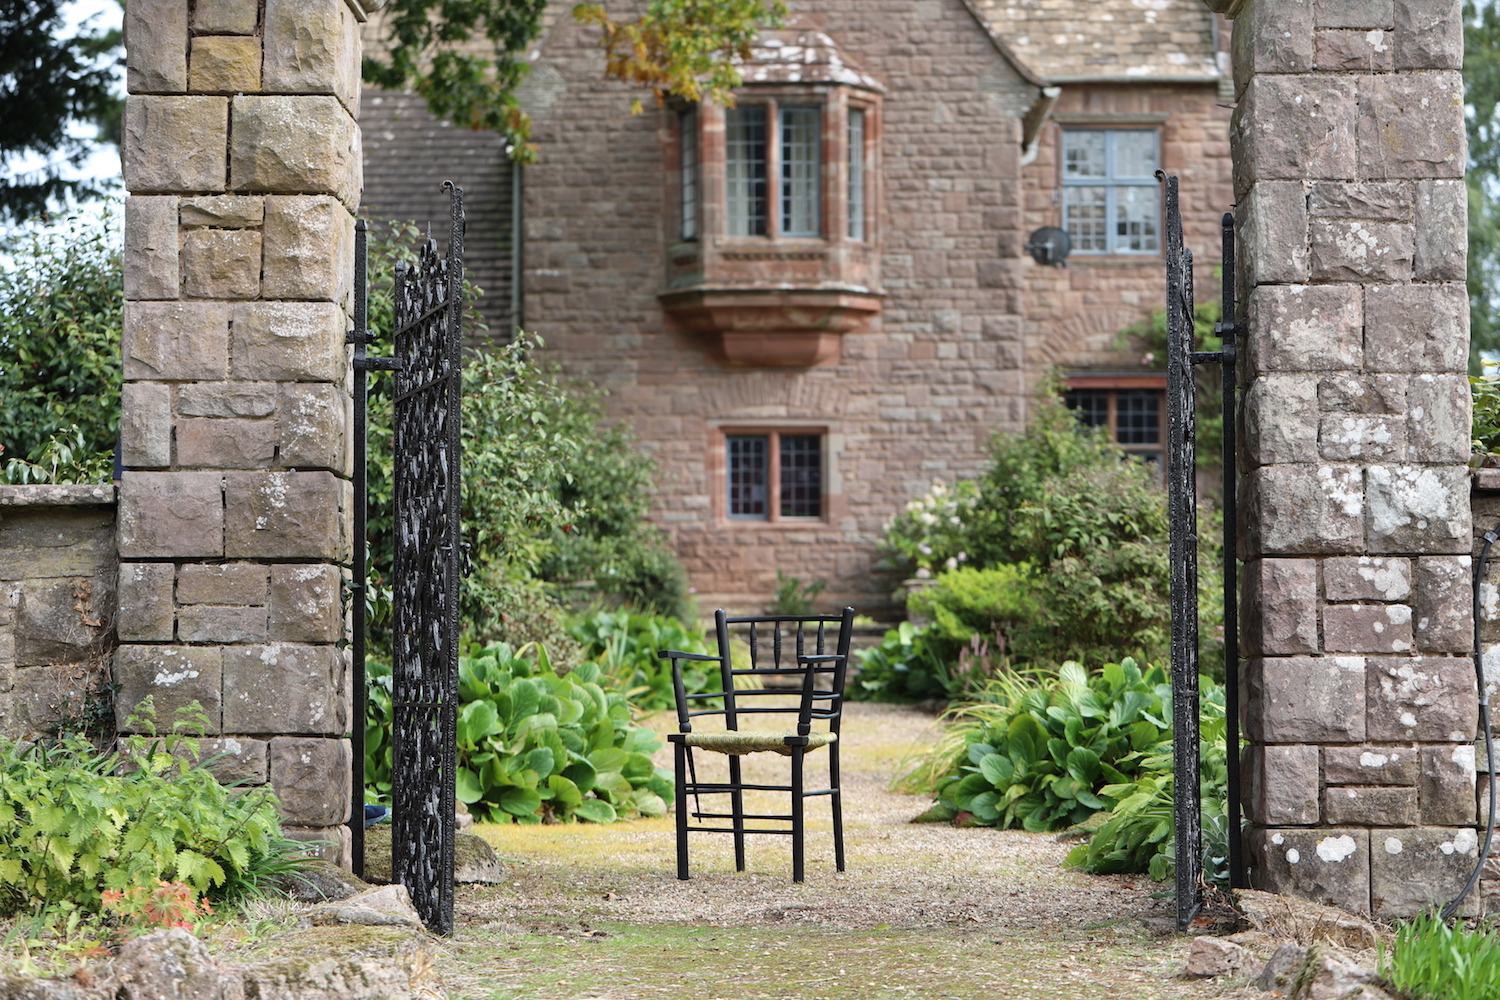
Before I started making I was only allowed to see the original chair for 1 hour and take pictures/measurements from it.

An advertisement for the Morris & Co chair collection c 1900

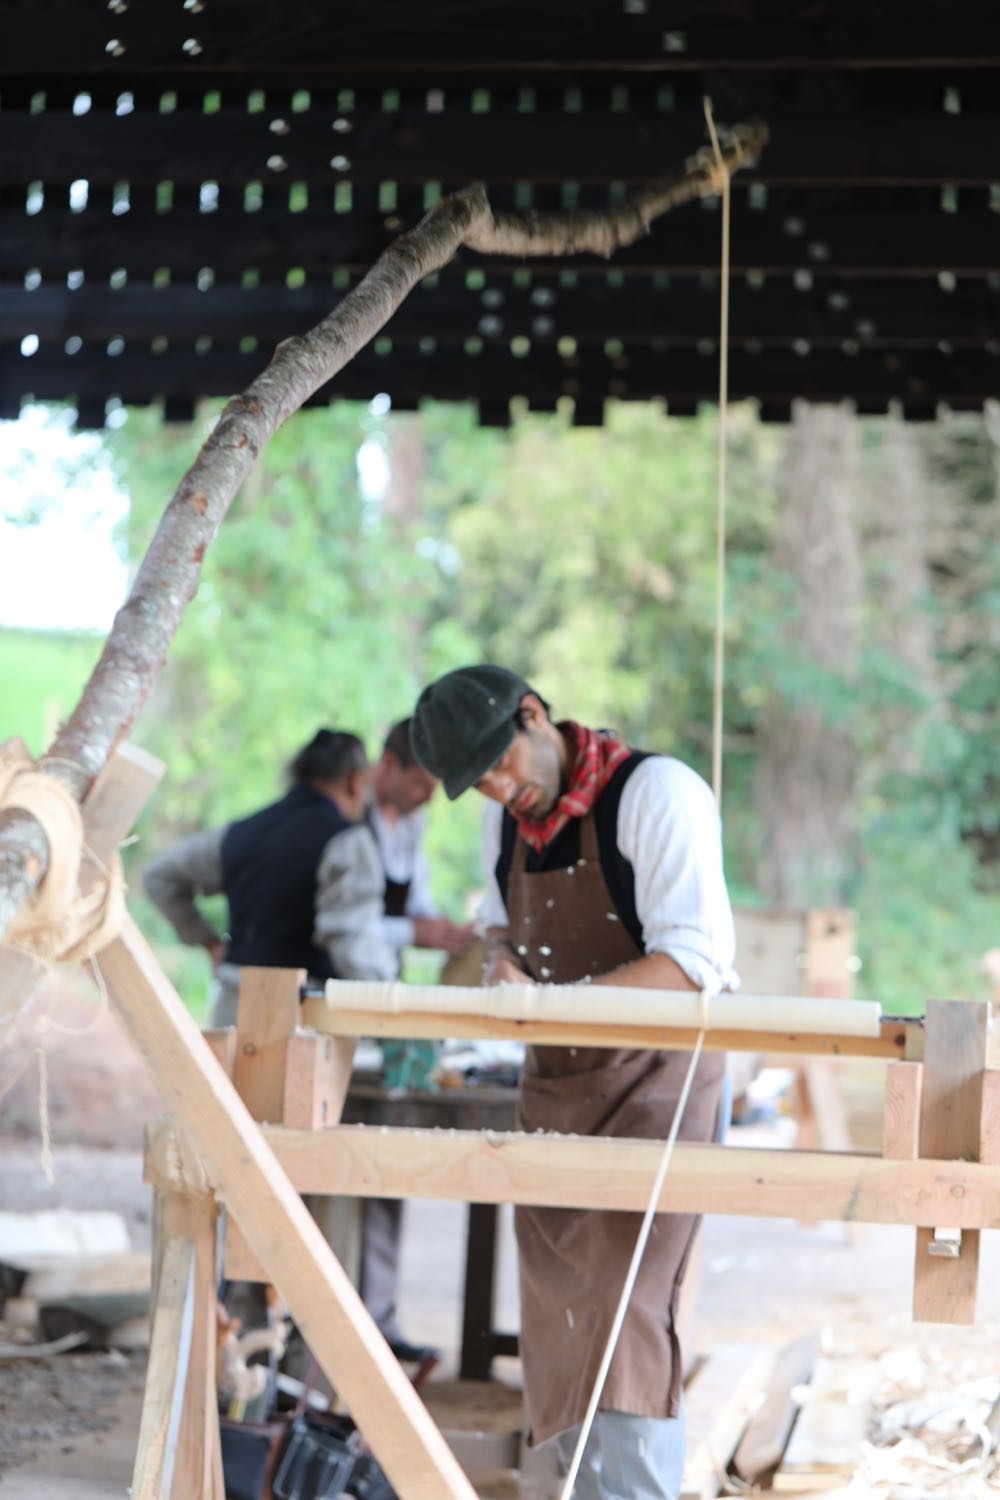
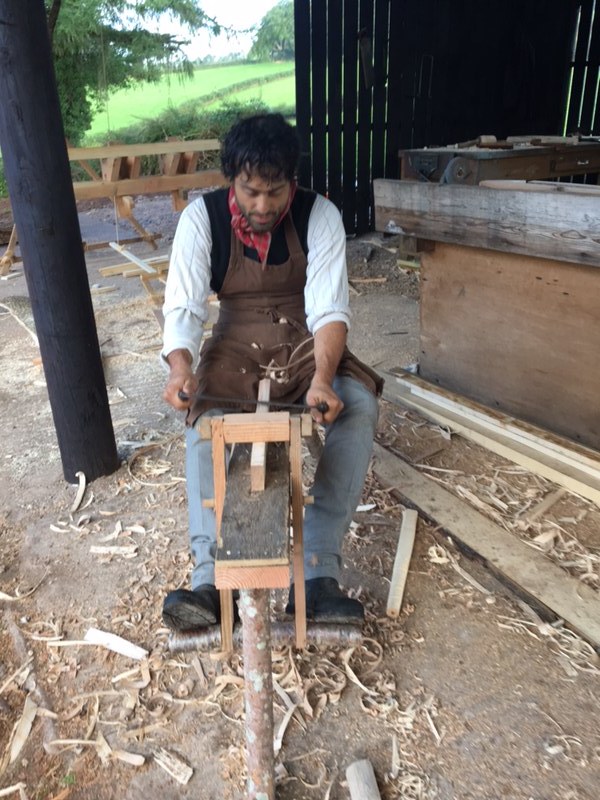
My open air workshop
The Design
This task was quite the reverse of normal creative process as we had to work backwards from a finished object and hack our way to a working design strategy. The original Morris design was made by a number of makers. The designer, the woodworker and the rusher collaborated and some of the final design choices were a result of their creative interactions. For example, there was a front piece of wood placed on top of the seat joint, possibly to cover up the visual imperfection of the side seat frame joints - I explain this later. This piece of facing wood felt unnecessary to me and I saw an opportunity to improve and respectfully add my own touch to this master piece. Other design interpretations will be explained as we go along. I really enjoyed making this chair in my own way but tried to keep the spirit of the movement through collaboration, fine hand made details and simplicity.

Choosing the wood for splitting
I worked outside in the open air under the cover of a green woodworking shed. I was given a trunk of ‘green wood’ which means that it has been freshly cut from a tree, is in seasoned and therefore has a naturally high moisture content. I had no choice of wood during the TV programme, but usually when choosing the best wood for splitting you need to take great care to pick a vertically grown tree with no twists or knots along its surface. This ensures that once the wood is split it will be far less likely to bend or crack. It’s also important to make sure you have more wood than you might need. This ensures you have ‘spare parts’ in the event of any issues or mishaps later down the line.

Two huge freshly felled logs delivered to my workshop
“twenty-nine separate pieces of the chair where shaved, turned, steam bent, drilled and dried after being split from several large freshly felled logs all without any modern-day power tools.”
Splitting the wood (5 hrs)
I got a huge shock when I first saw the logs and realised I had to split a trunk that size! The splitting of the log alone took 5 hours and was quite a work out! Logs for chair making are usually half this diameter as they traditionally come from younger trees. When using greenwood it’s essential to split the wood as opposed to sawing it. This allows the wood to naturally separate at the points of highest tension in the tree. This is especially important when creating spindles as they need every bit of natural strength they can get due to their small diameter. So, I first split the logs in half with an axe, a mallet and some wedges. I then continued to halve each piece until I had split more than double the amount of over-sized spindle blanks I might need.

Abdollah mid splitting
“The splitting of the log took 5 hours alone.”

Logs after splitting piled in blanks
Shaving Spindles (18 hrs)
I created a spindle template by drilling 6 holes, one for each different diameter size within the design of the chair. I did this so that I could drop each spindle end into the template and carve them guaranteeing a consistent fit. I roughly cut the blanks down with an axe. Then I clamped the rough blank to the shaving horse and refined with the drawknife, eventually moving onto the finest finishing cuts with the spokeshave.

Turning spindles (12 hrs)
By now the size of the task ahead started to really dawn on me and I started to worry I wouldn’t complete the chair in time. Large spindles were made for the front/back legs and the two arm holders across the chair. I turned them to the right shape and they fitted on the pole lathe easily. I took particular care in ensuring these spindle blanks had long uninterrupted grain throughout their length as these spindles will be subjected to the greatest structural force when the chair is in use.
I moved onto the four small decorative vertical spindles for the chair back, which were more difficult to turn as they were much smaller. I completed the first one and used it as a reference to make the other three, comparing them constantly to make sure they all matched. I cut out the grooves for the first tiny spindle within a much larger single piece of wood on the pole lathe. I removed it from the lathe and cut off the unturned ends. I then reduced the chunky ends down in size on the shaving horse. This process was repeated three more times.

Cutting and shaping the seat frame (4 hrs)
The original design of the seat frame consisted of a square block on the front corners that carried three separate joints within it, the front legs, the front of the seat frame and the side. I understand the design was to created make the work load simpler for mass manufacture. Also to scale the business Morris & Co would have had to hire lower skilled labourers so simplicity of manufacture would have been a significant consideration. To improve the strength of the chair design, I decided to use one piece of solid timber with a square head on each side. This piece tapered towards the back of the chair into a circular spindle head, making the joint in two pieces and therefore stronger.
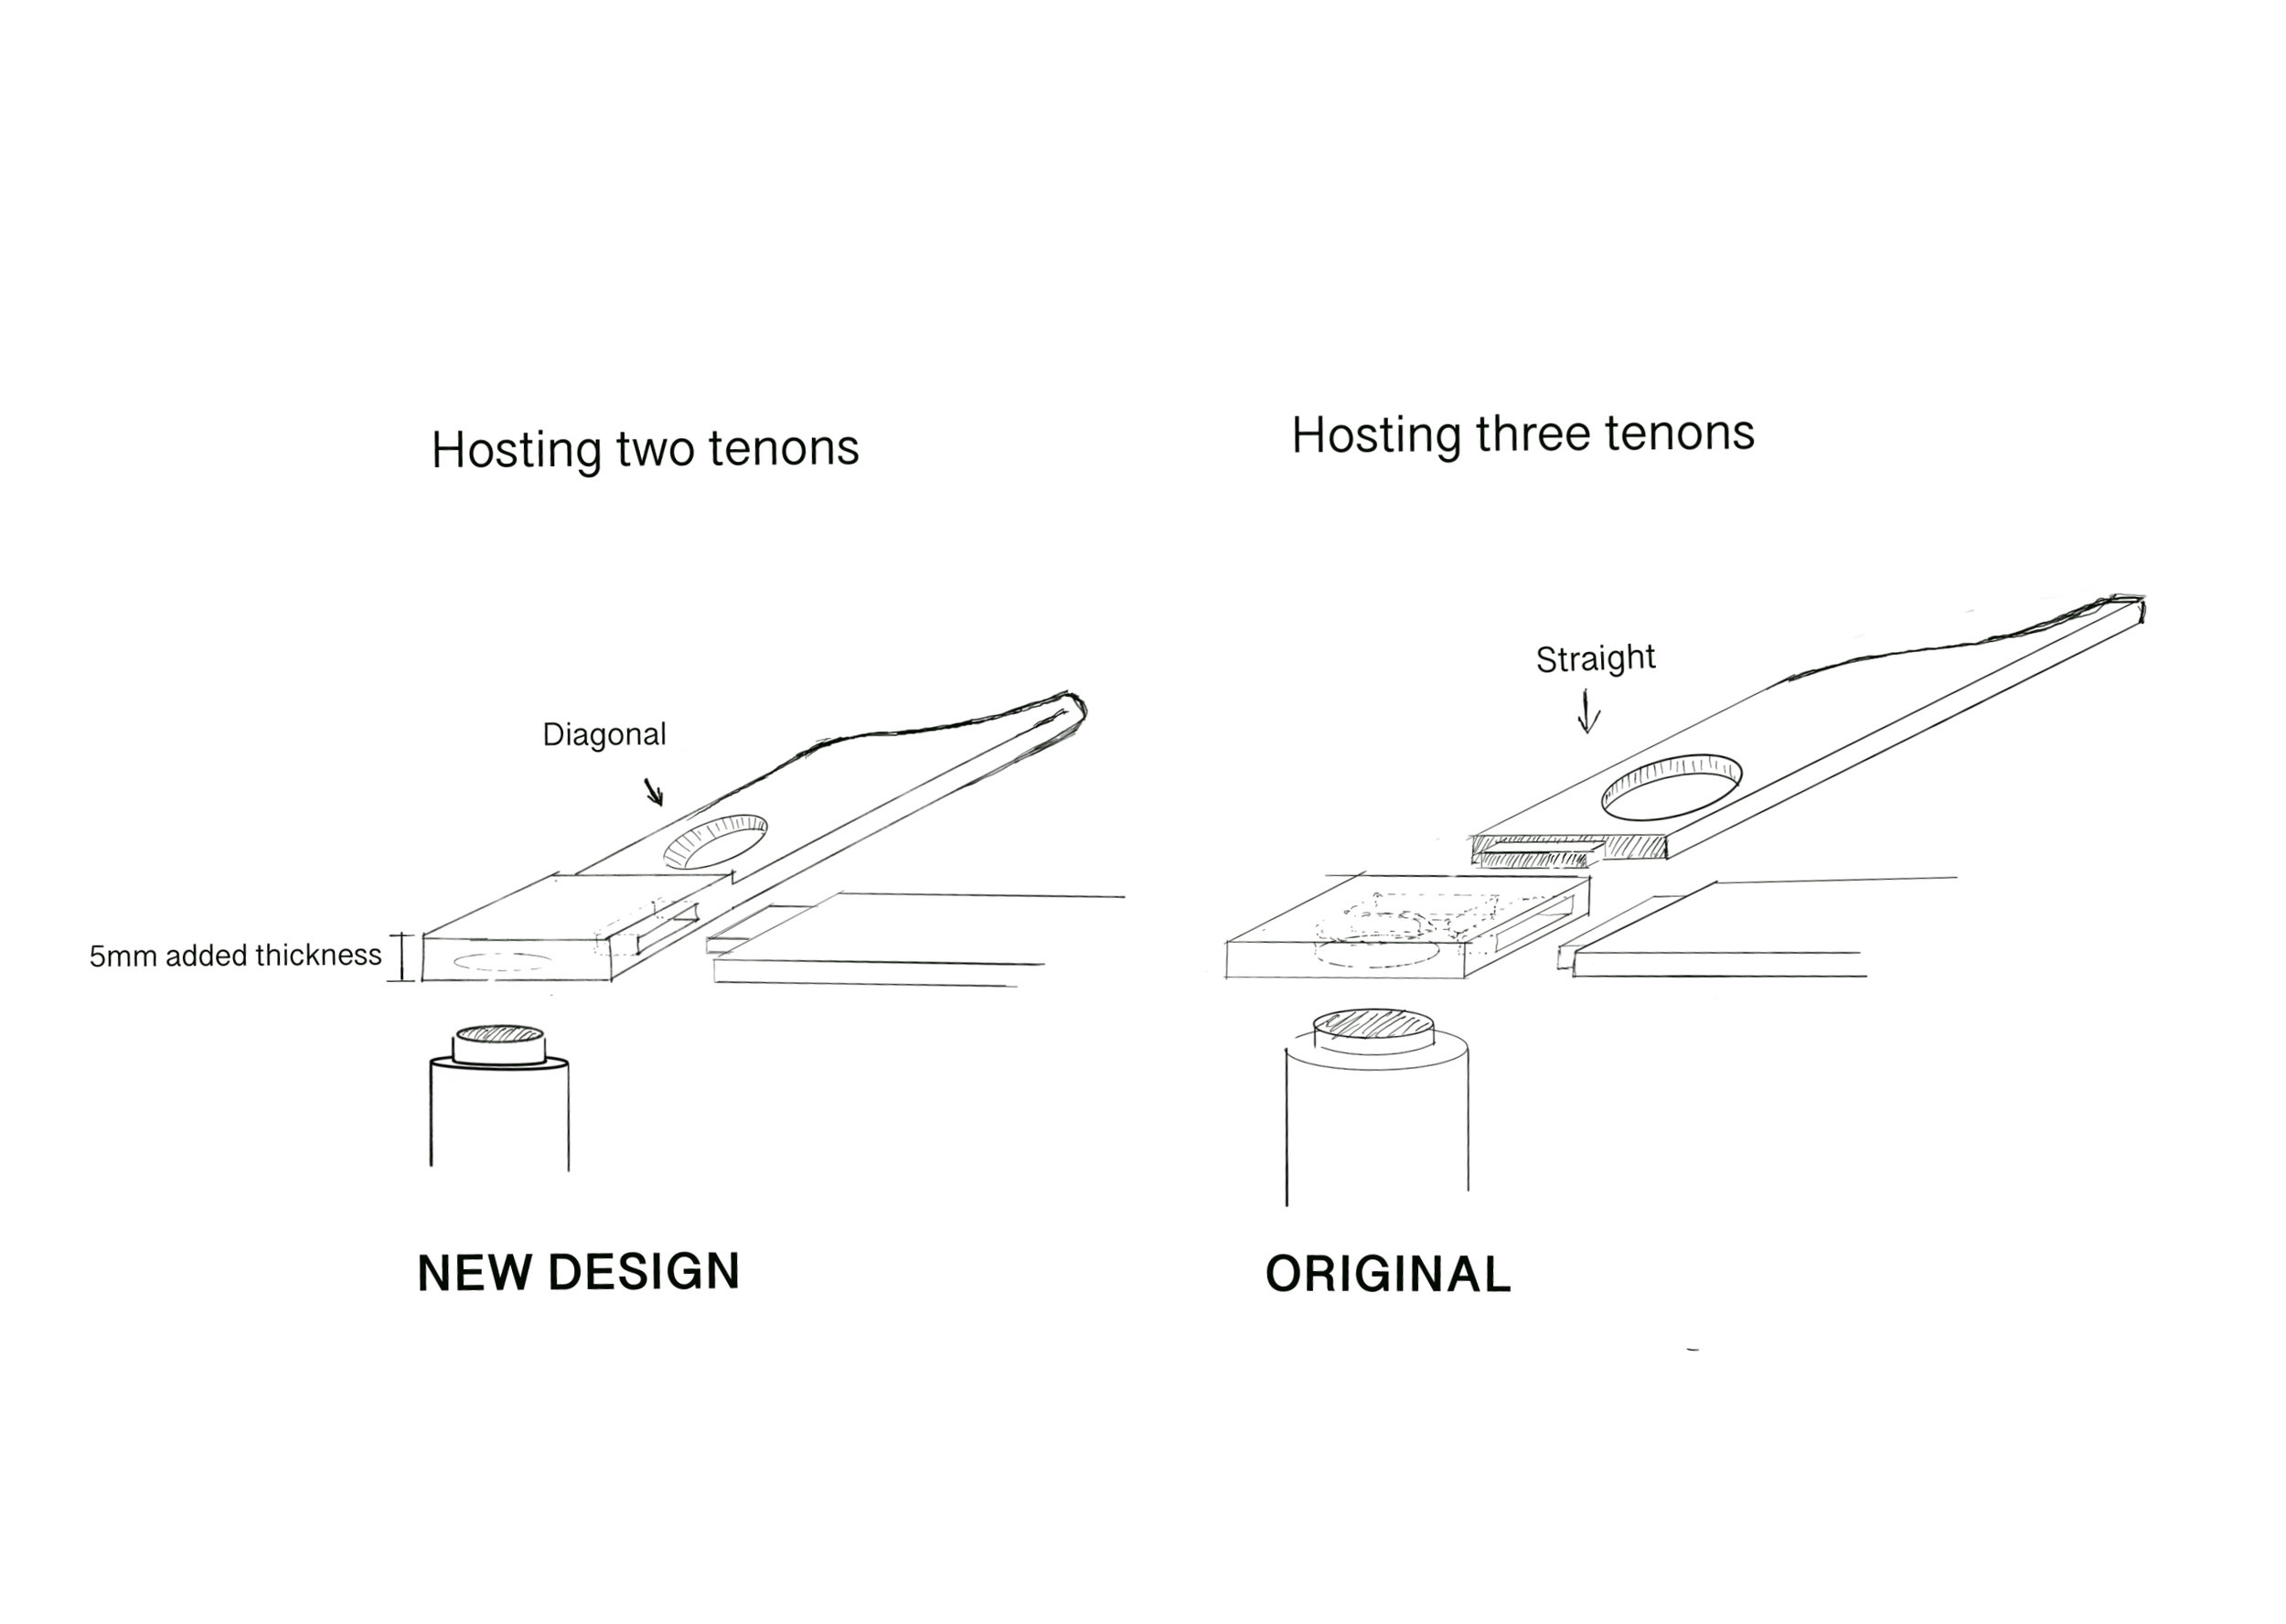
“I decided to use one piece of solid timber with a square head on each side that tapered towards the back of the chair into a circular spindle head, making the joint in two pieces and therefore stronger. ”
The back of the seat frame is a round spindle that I had already shaped. The front however, is made of a piece of rectangular timber that fits into the square head of the seat frame side through a mortise and tenon joint. I cut these with a hammer, chisel and saw, matching the original design. I increased the thickness of the front and sides of the seat frame by 5mm to give more support for the arm rests and rushing and to make the chair much stronger.

Steam bending the spindles (8 hrs)
I used a steam bending box supplied with steam from water boiling over an open fire and delivered through a metal tube. I steamed the smaller spindles for two hours and the larger ones for three hours. Once steamed, I made mould jig crafted from green wood which matched the precise curve needed for each length. It was essential to steam plenty of spares spindles at this point in case they snapped when bent. It’s generally unavoidable to suffer at least one or two losses.
To avoid the spindles loosing their bend I quickly locked them into a template as they have a tendency to go back to their natural form before the lignin (glue that holds the wood fibres together) inside is fully dried.

Boiling water pot

Putting spindles inside steam box

Bending the spindle over the handmade mould/jig to form the correct arc angle

Spindles locked in template to cool down
Dry the spindles (8 hrs over night)
Because I was using green wood I had to expect substantial wood shrinkage. Although this can provide it’s own challenges it also can provide greater strength to the chair. When wood shrinks it does so across the grain, as opposed to the length, meaning that a green tenon will become loose once dry and a green mortise becomes tighter.
To use this gift of nature to my advantage, I dried the ends of my spindles in a bucket of sand over the fire and then sized my mortises to the dried tenons. As the mortise dries gradually around the already dry tenon, so the mortise joint will only continue to tighten around the tenon providing a secure fit.

Back Spindle drying indoors by the Kitchen fire.
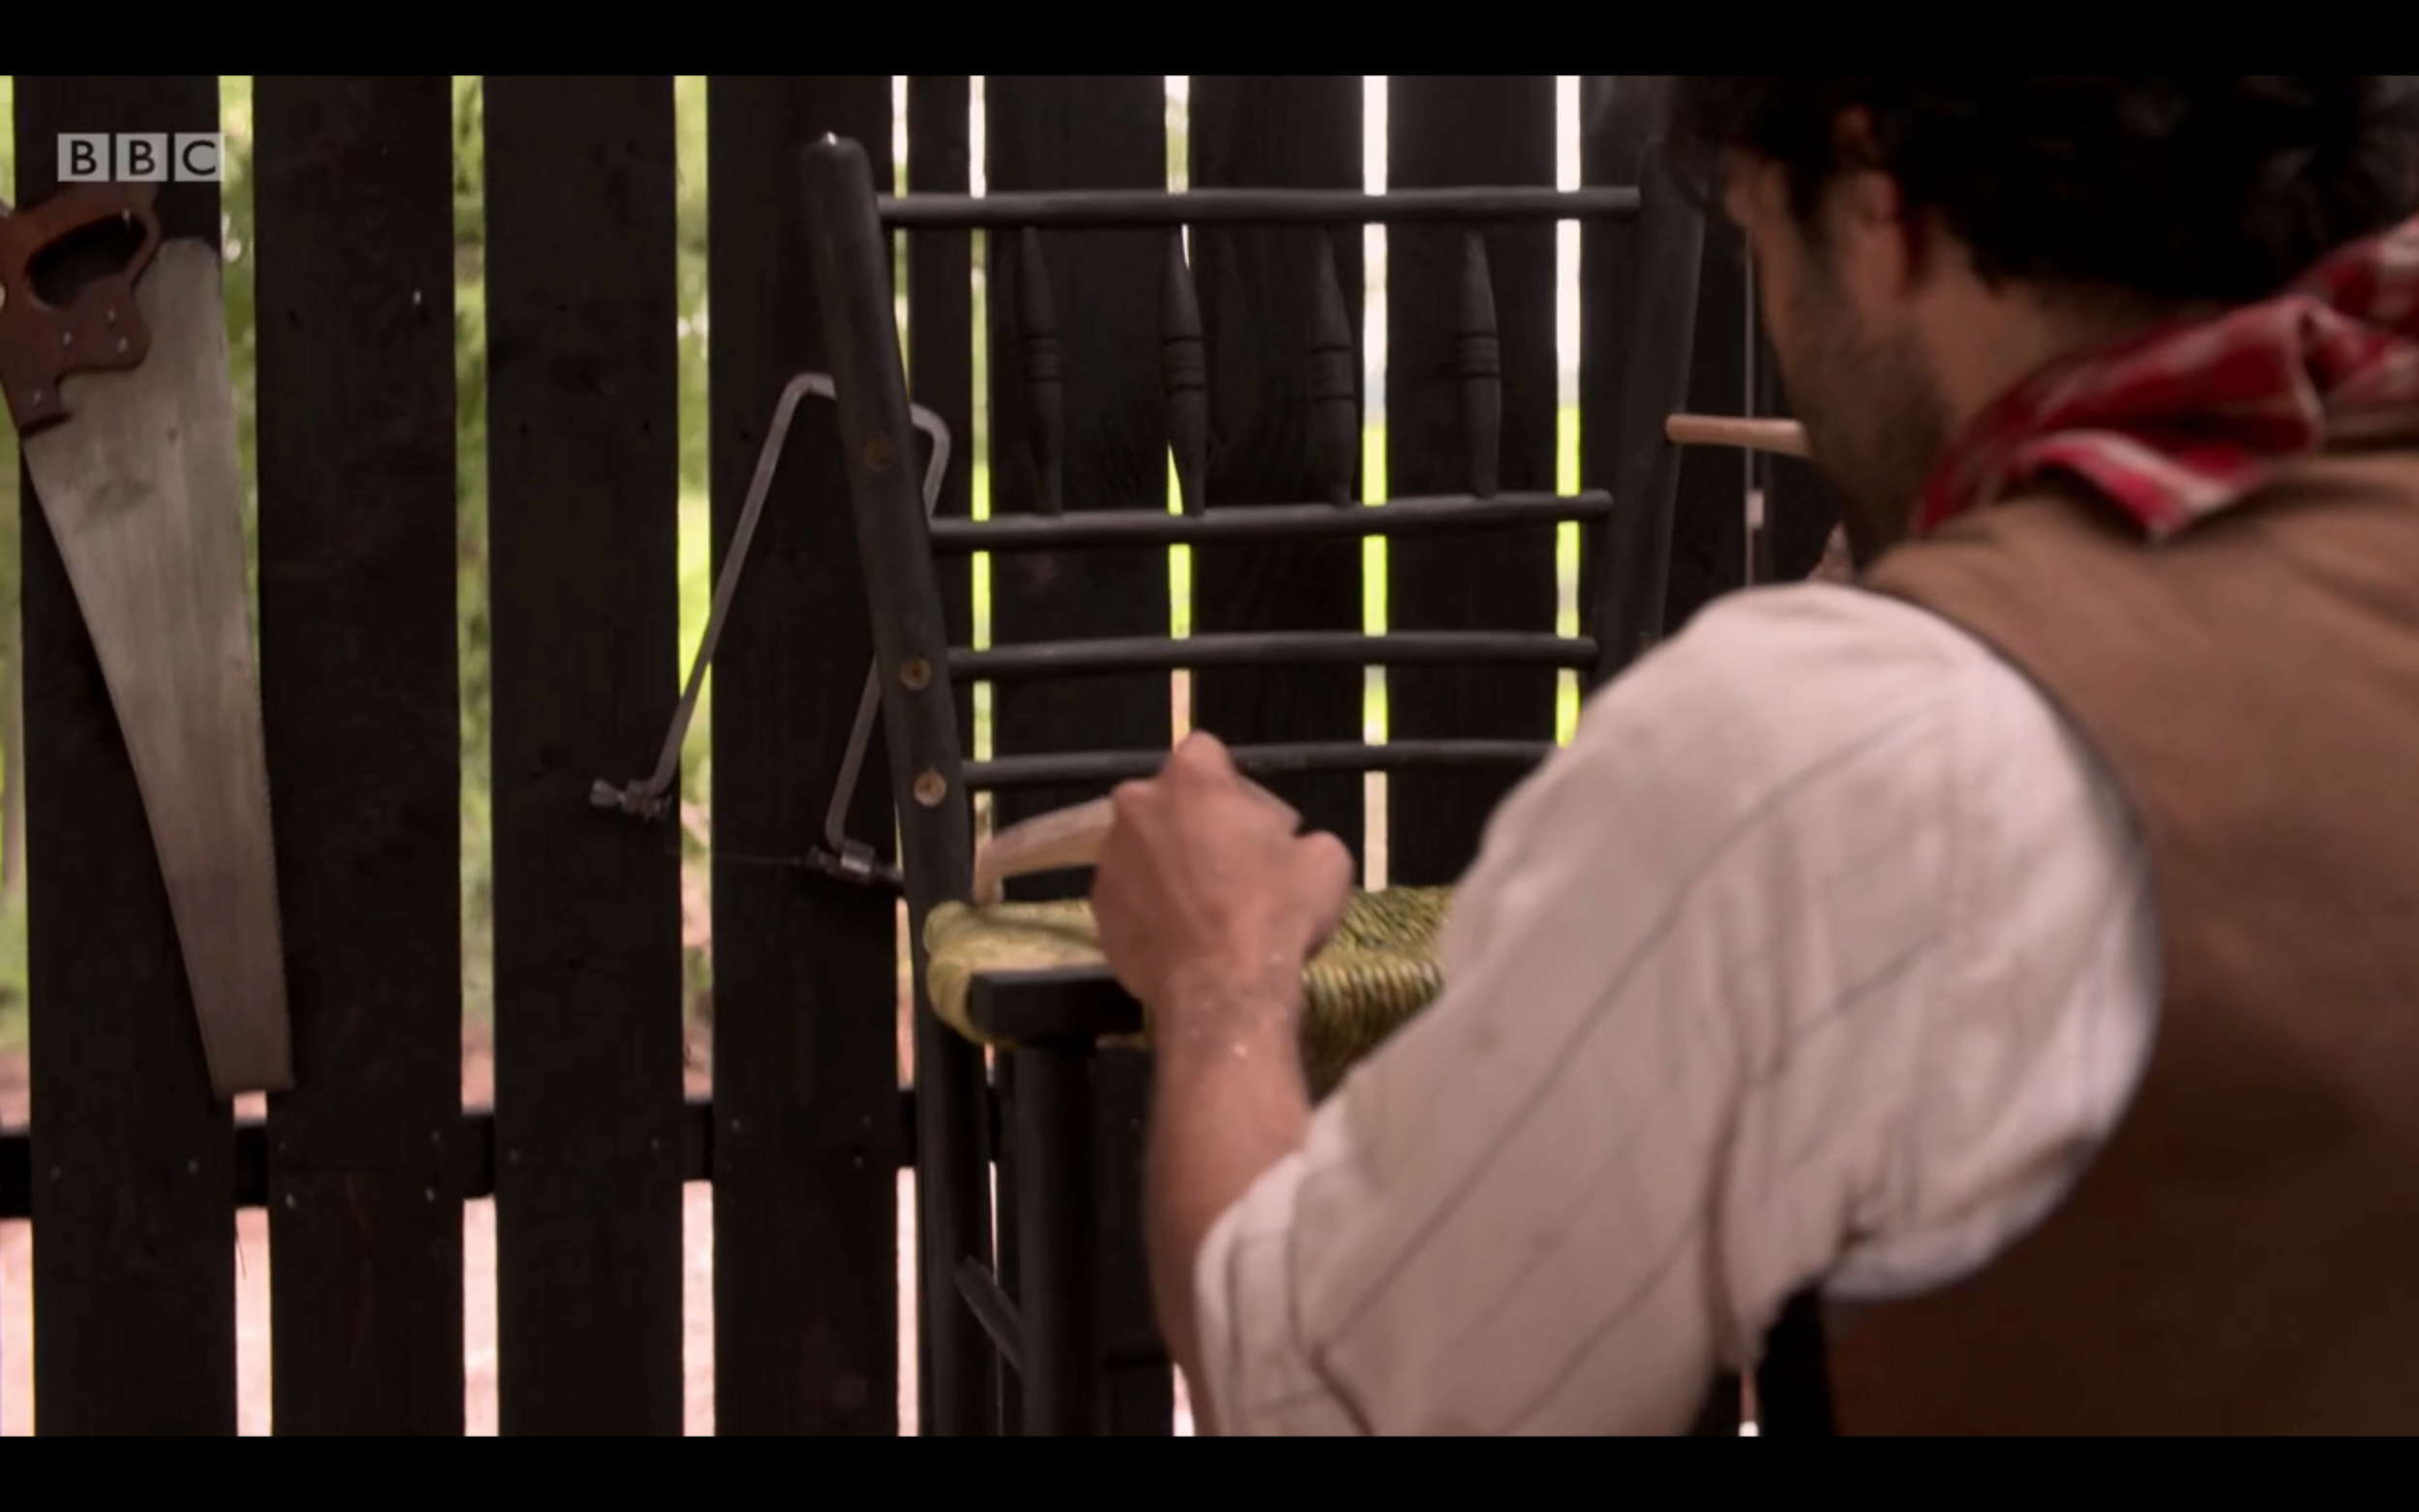
Drill Circular mortises in spindles (2 hrs)
Starting with the chair back, I aligned and marked where all the spindles would need to join. Then with a hand drill I carefully bored each mortise by eye. When using a hand drill on green wood I tend to drill one full rotation then turn the drill out to remove material, I repeated this process until I had reached the desired depth.
I then marked and drilled out all other joint locations throughout the chair except the mortises in the arm rest support spindle, and accompanying structure.

Thanks to Rod for all his help and collaboration!
“Fellowship is heaven, and lack of fellowship is hell”
Constructing the chair frame (6 hrs)
I now had all of the parts of the chair split, shaped, turned, steam bent, drilled and dried where necessary. It was time to move onto construction.
I began with the ladder back first, laying all the pieces out flat, then once happy with the alignment, I glued the pieces together and waited for them to dry. Then I joined the front legs with the sides of the seat frame, followed by the front of the seat frame and front spindles. Once the glue had dried, I could attach the front legs and seat frame to the rear ladder.


Shaping the arm rests ( 3-4 hrs)
While the chair was being rushed, I prepared the arm rests. I decided to create a more supportive arm rest than that of the original chair. I created a flatter, more comfortable design.
First I cut a rectangular block of wood to the length of the arm rest and then carved it down to a softer, rounded rectangle that gradually tapered into a circular head. It was then joined into the rear legs. I tilted the arm spindles forward, instead of perpendicular, to create a more modern angle between the armrest and the arm spindle.

The arm stop (1 hr)
Another design change I made was to lower the arm stop and make it free standing instead of it being attached to the chair legs as in the original design. I noticed that the designer had a love of fluid continuous lines, so I respectively added my own touch by making this line continue down into an elegant tip instead of land inside the chair.
The Arm stop is the horizontal bar at the bottom of the arm spindles and is there to stop the arm spindles from moving in or out. Also worth noting that the ends of the arm spindles (the tenon) were dried in sand where as the arm stop ( the mortise) was wet, as the arm stop dries it will shrink around the arm spindles making a very tight grip.
Addressing the technical misunderstanding
It was noted on the show that this feature was ‘begging to break’. From a technical joinery perspective I don’t believe this to be so. The arm spindles are fixed at the top inside the seat frame which as we said earlier is thicker than the original design and therefore providing more support for the weight of a persons arms on the arm rest channeling down. Similarly at the bottom with the arm stop. So if there were any risk of breakage when someone sat in the chair, the seat frame would have to break first before the arm stop gave way. Of course the judges were unable to be there during the whole process of making and were therefore not party to design process nor the technical thinking and interpretation put into the chair.
The arts and crafts movement to me wasn’t just about appreciating the end beauty of an object but was equally about recognising and valuing the craftsman’s design process and thinking.

Original arm stop Design

Abdollah’s New arm stop design
First painting with Indian oil (3 hrs)
Once the frame was constructed I needed to paint it before the seat could be rushed. I used two coats of Indian oil allowing for plenty of drying time after each coat.

Abdollah Painting in the kitchen
the SEAT Rushing (12 hrs)
Sally Broadway master weaver and embroiderer Niamh Wimperis did a great job collaborating on the rush seating. Here are some snaps of their process. Seat rushing should normally take between 2 to 3 days but it was achieved within hours giving viewers a great insight into this dying craft. I really thank Sally and respect herfor supporting us in this way. One could say this was truly ‘rushed’ work ( pun intended).


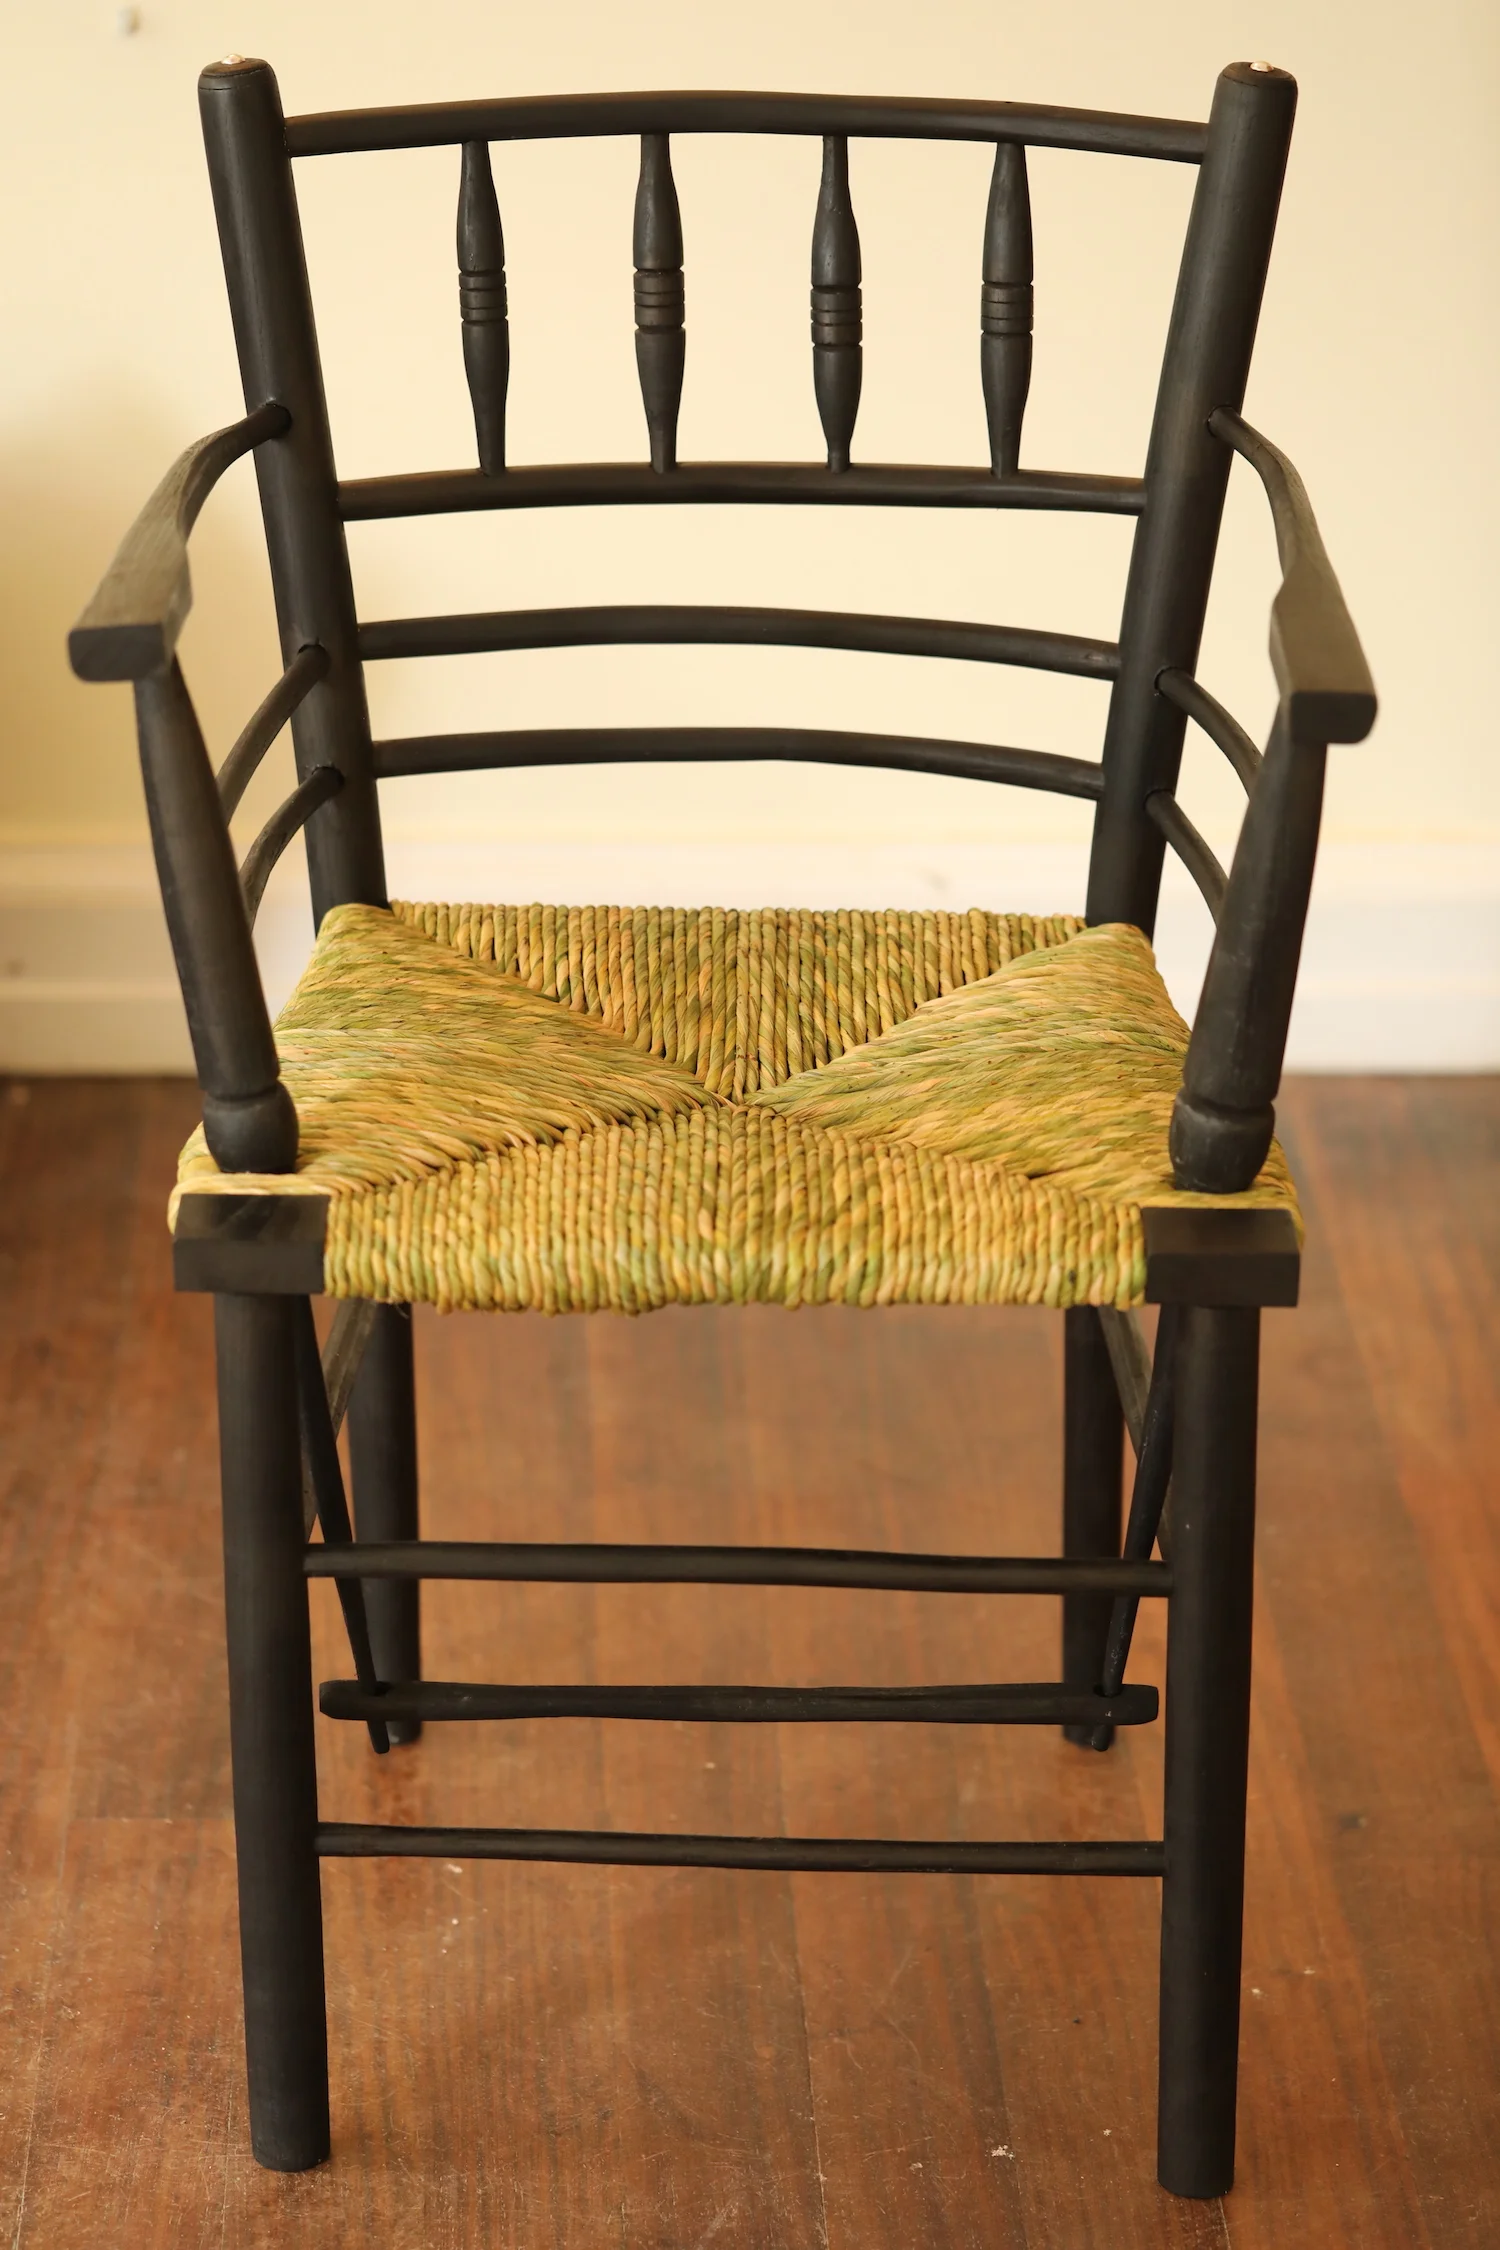
Adding the Silver Stud (2 hrs)
Master Silversmith Bryony Knox and product designer Ilsa Parry collaborated on making the very smart finish to the chair with the studs in the top of the chair back legs.

Bryony and Ilsa working on the studs

The silver stud in the chair
Final Step of Adding the arms (12 hrs + over night)
On the last day I was trying to stay positive as possible because time was running out. I added the arms to the chair during the day and continued on well into the night. I was not seeing this as a personal project but felt I was representing of woodworkers across the world and showing what goes into our craft.
COnclusion
After 5 days + 2 nights thats ~70hours - time’s up!
The challenge of creating this chair was a delight and it made me approach my craft in new and exciting ways. This experience has given me greater insight into the old techniques used for chair making. The sheer skill involved in creating perfect balance from subtly imperfect parts tested me.
It would have been nice to be asked more about the design thinking I put into the chair as an art form, as this was my main focus from the start. The arts and crafts movement was about acknowledging the maker as an artist and as a craftsperson. A great craftsman creates no two pieces exactly alike whilst maintaining a consistent level of quality throughout. This is a quality I believe to be true no matter the age in which you craft!
If you would like to commission a Sussex Chair for your workplace or home please get in touch.


Thank you BBC for this opportunity 🙏🏽
Commission a Sussex Chair or dining table set